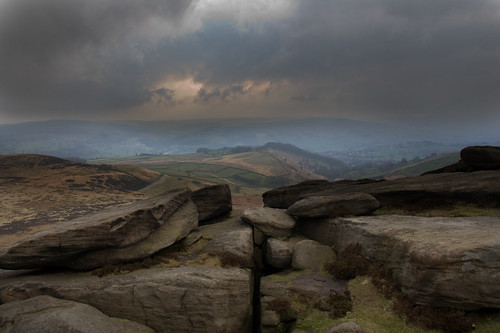
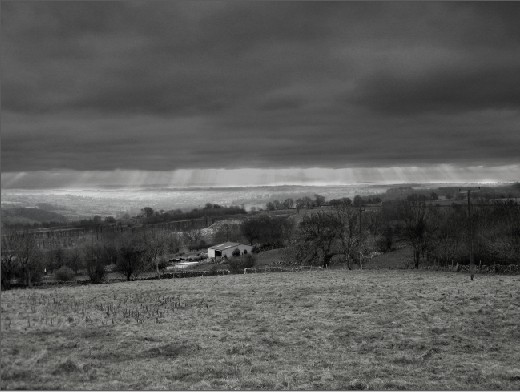
Following on from my previous post “Something from nothing“, this image uses a different technique to blend an overexposed sky with a detailed foreground. I nearly called it “Something a bit better from a little bit more”. This post is shorter than the earlier article, and hopefully less coma-inducing as a result.
The photo was taken from Heggar Tor in the Derbyshire Peak District last April in the early evening. This time I had the benefit of my Canon EOS 350D digital SLR, and captured in RAW format, which gives much more to play with in post processing. I also used slightly different software – Photoshop Elements 5 (or possibly 6 – I forget when I upgraded). The editing process still uses layers, but this time rather than overlay them using masks, combines them using blend modes.
The resulting image won’t win any prizes, but I rather like it. It may not be too obvious from the small image here, but if you click on the above image and select the larger version (via the “All sizes” button) you should be able to see some of the fine detail of the rocks and lichen.


